A clean bike, don’t we all love that feeling? It doesn’t only make you look great on your rides, cleaning your bike regularly helps to extend the lifespan and makes your bike run smoother. Check out this cleaning routine: 6 simple steps that will make your bike #lastlonger!
Contents
Step 1: Rinse with water & apply a bike cleaner
If possible, place your bike in a repair stand and take the wheels out before you start your bike wash. This makes it easier to reach all nooks and crannies.
Begin with rinsing your bike with clean water. This helps to remove any excess mud and grime off your bike. Avoid pointing the hose or high-pressure washer directly towards the hubs and bearings as you can wash away the grease that protects these bearings.
Apply Bio Filth Fighter or Dirt Destroy Foam Spray on your frame and bike parts and let it soak for a few minutes. The cleaner will dissolve dirt like mud, oil and sweat without harming your bike. If necessary, you can agitate the dirt with a brush.


Step 2: Cleaning the drive train
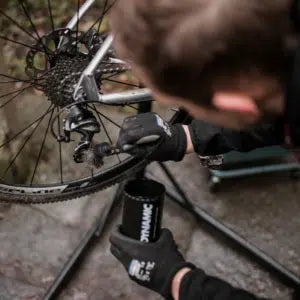
Whilst the Bio Filth Fighter or Dirt Destroy is doing its job: you can clean your drivetrain with a degreasing Chain Cleaner or Drivetrain Detoxand a chain cleaner tool or a brush. The unique formula of the Dynamic Chain Cleaner acts as a degreaser while leaving a protective layer on your drivetrain to prevent your chain and cassette from drying out after cleaning. The formula of Dynamic Drivetrain Detox is a planet-friendly alternative which makes your drivetrain sparkly clean.
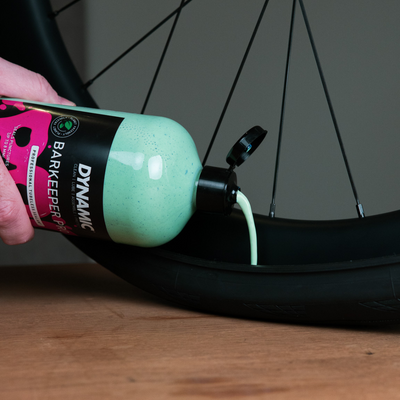
Fill the Chain cleaning tool with chain cleaner and place the tool over your chain. When the Chain cleaning tool is placed over your chain and hooked around your derailleur cage, pedal backwards to run the chain through the brushes and cleaning liquid in the tool. Use the Claw brushor Drivetrain detailing brush to remove all remaining grease from your chain, cassette or crankset. Pro tip: cut a water bottle open and fill it with some Chain Cleaner to easily apply Chain Cleaner with your tools.
After cleaning your drivetrain, use a cloth to dry your drivetrain.
If you’re using a wax-based lubricant: most of the time it is enough to wipe off excessive wax residues with a cloth or brush and you can skip the degreasing part.
Step 3: Clean the frame and parts
The Bio Filth Fighter or Dirt Destroy have now had enough time to soak, mud and grime can easily be washed away. Use a set of brushes to get rid of more stubborn mud. Our tools are designed to remove dirt from every part of your bike without harming it. Don’t forget to clean your wheels and tires with Bike cleaner and the tough Wheel and Component brush.


Step 4: Dry & protect
After washing your bike, it’s important to let it dry. Storing a wet bike may result in corrosion and shortens the lifespan of the parts.
When your bike is dry, protect your bike with Fabulous Finish or Protective Wax. The dirt and water-repellant sprays will protect against corrosion while leaving a showroom finish. After spraying it on your bike, we recommend to polish your bike and parts with a polishing cloth.


Step 5: Lubricate
Finish your bike cleaning session with lubricating your chain. Apply a drop on the inside of each chain link. The lubes from Dynamic keep your drive train in optimal condition by reducing friction and protecting against corrosion.
Our Wet lube is optimized to last long in wet and muddy conditions. When you’re planning a ride in dry conditions, use Dry lube or Slick Wax.


Step 6: Disc brake cleaning
If you have disc brakes, the final step is to remove all residues from your disc brakes. When cleaning your bike, residues of the cleaning products may end on your rotors creating a squeaking sound when you’re trying to brake. Spray Brake Booster on the rotors or (even better) on a clean cloth and remove any residues with a cloth.


Related blog posts

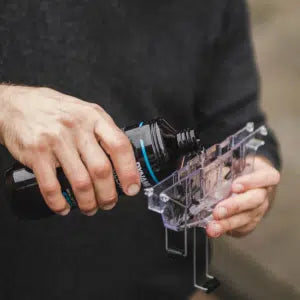
Why the Dynamic Barkeeper system makes the difference Riding tubeless delivers more grip, more comfort and fewer punctures, as long as the foundation is right. In practice, the difference is rarely made by a single...